My shirt wasn't one of my favs (although I'm wearing it right now.) but I felt like the overspray just made it look bad. even though I tried to soften it up, it wasn't working out for me. Since I have 2 of the exact same shirt.. and half my wardrobe is black, I decided to give it another go. But this time do some tests first.
I know I say this a lot, and it doesn't really matter, but there are quite a few pictures in here.. with not that many words. xD

PS this is my adorable Sarge. <3 the picture doesn't do him justice. (or maybe it's a face only a mother could love. LOL) Anyway, handsewn mostly flat stuffie. I didn't have any red felt, so i had to make do with what I did have. :P Sarge is from one of the most hilarious things ever, red vs blue. he needs a keychain loop! xD Since he has none, he shall now become a toy for my kitties. :[

This was attempt from last night. i cut up a plastic page protector in thinking that would save from bleeding through the paper.. unfortunately the plastic curled & you cant tell what the hell is going on

I attempted the cardstock stencil again.. you can see that part of the wing came out clearly.. i guess because it received a lighter spray.

This was my go at using freezer paper & bleach. the waxiness did prevent a bunch of bleeding, but I was still left with a weird halo around the whole thing. I ended up deciding that this stencil was too complex for bleach.

So I busted out ol' reliable and did a freezer paper stencil with paint. I am overly impressed with the cleanness of the lines and etc. It's slightly smudgy at the top.. but I am extremely impatient and needed to see if the stencil worked. xD

SO i decided to stencil my other shirt. the picture makes the UNSC look REALLY white, but it's actually pretty greyish. I wanted to give it a beat up kind of look. i'm hoping it cracks a little once i wash it. i love vintage-y looking teeshirts.
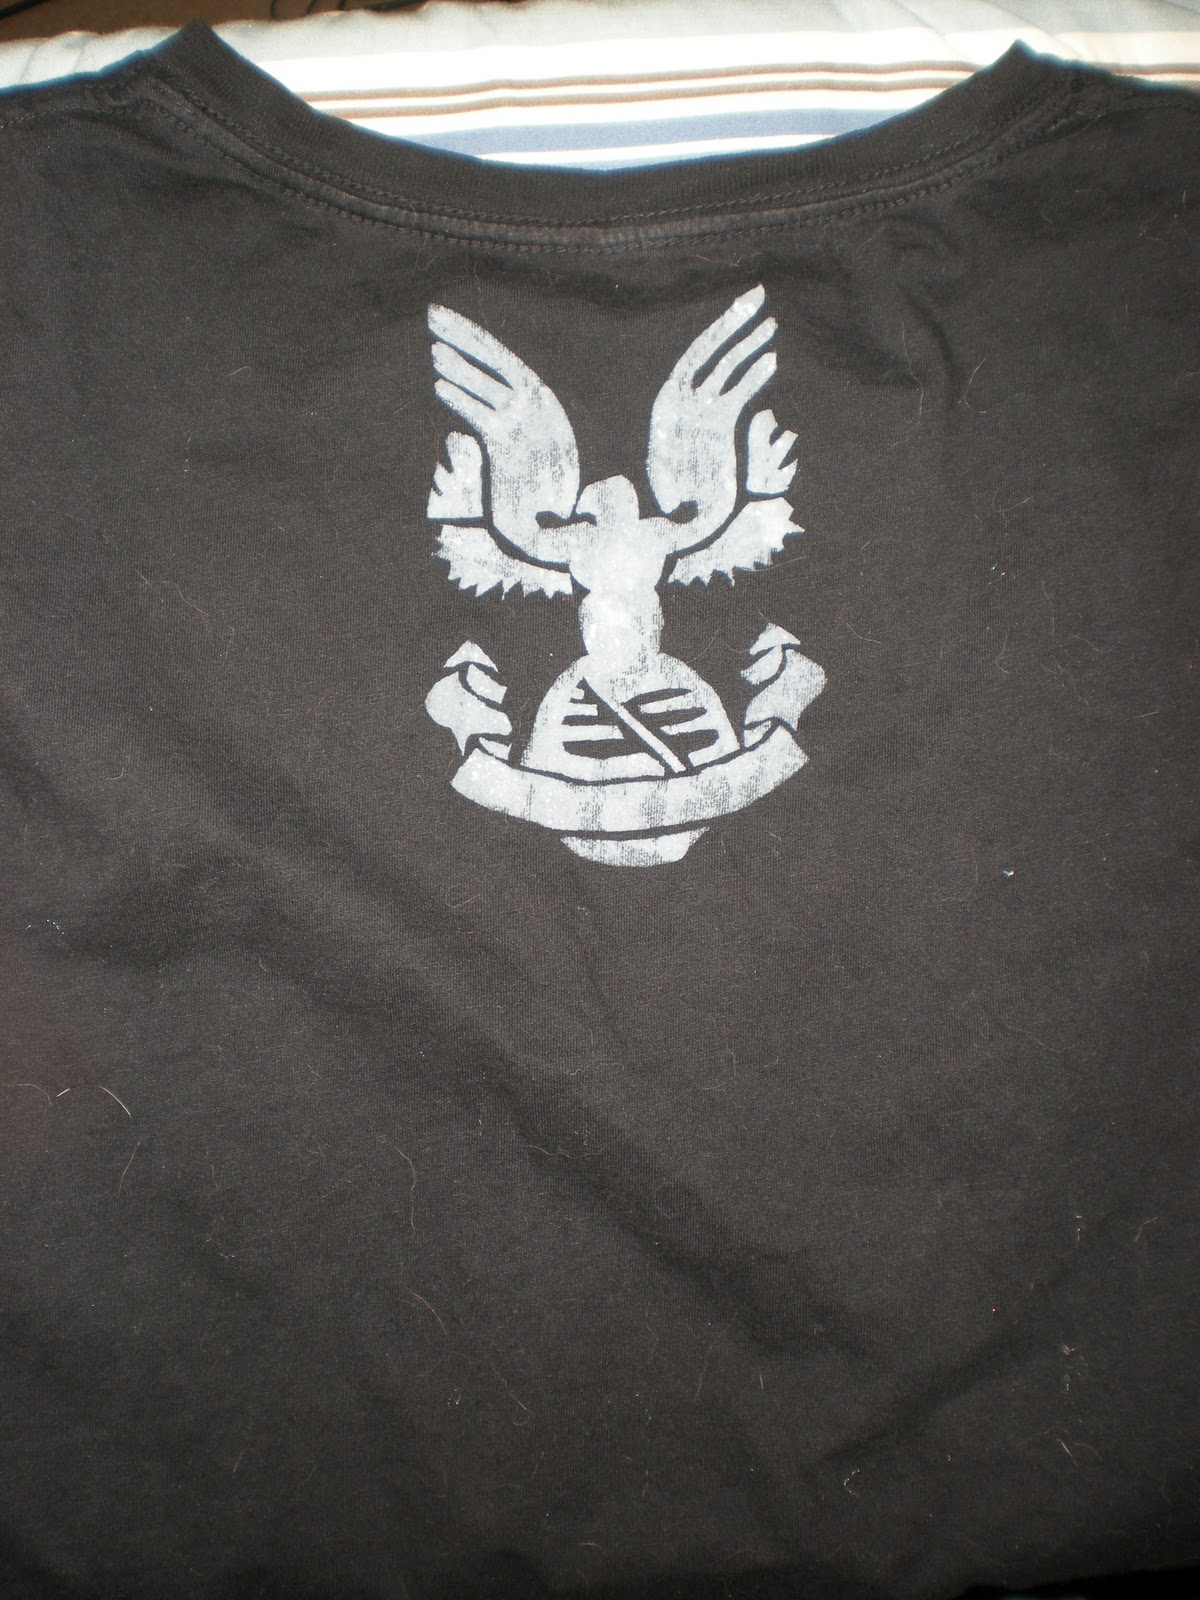
This is the back view. since freezer paper is one time use, i've had to cut out about a dozen of these stupid logos. LOL! I have a request for another shirt, i'm pretty sure i can cut this logo out in my sleep.

back view of this beast

Front view with logo at the bottom. I like to keep things subtle on the front.. i hate having glaring things on my chest, not to mention this shirt is a v-neck, so anything on the front top would look stupid.. I wanted so badly to have "UNSC" on the shirt, so i finally decided to put it on the bottom. <3
There you have it! Freezer paper is my new favorite thing in the entire world. it is SO easy to use. Cut out your stencil onto the freezer paper.. ( i didn't print directly onto the paper, because A. I'm too lazy to hook up the printer & etc. and B. I already have a printout of the logo. I just traced it. xD Once it's cut out with an x-acto knife, you iron it down! (waxy side down!) it forms a really weak bond.. then you can paint over your stencil without anything sliding.. once it's dry, pull it off and PRESTO. you have yourself a gnarly stencil!
I didn't use any special paints or anything.. my mom paints woodcrafts all the time, so I just borrowed her white and black.. mixed them up to get a dull grey.. and painted. I didn't use just grey, because I like the differing colors you get when you dont fully mix colors. plus, I ended up going back over the UNSC logo with a little black. xD Some tutorials suggest you use some kind of textile something? but in my experience, I've never had a problem with just acrylic. I literally cannot wait to stencil something else!!! my only question now.. is WHAT am I going to stencil!? I have a bunch of stencils, but no idea what to put them on. xD
PS, in case you didn't realize already.. I sometimes will craft the game I'm playing. I also have a new idea for a gift. hopefully these things will all start happening. xD I'm working through my list slowly, lets see how much I can get done with. :D
XOXO
No comments:
Post a Comment